

Part 1: Getting ready to install your Car Stereo
The most prevalent customization that many people put in their very own car is a new auto stereo. Most will have their very own car stereo professionally put in spending up to hundreds profoundly top of the cost of the stereo audio. For many, though, the added price of installation means that they cannot receive the stereo that they want during this period. Installing your own car stereo audio can save you a lot of money, and you can help it become look just as nice being a professional installation. All you need can be a couple of tools, a few areas, and a little time. Taking a bit of time to prepare ahead of time will save you time and effort during the installation.
Your New Auto Stereo:
When you decide on what vehicle stereo you want to install within your car, take the time to ensure that it is going to fit into your car. Some cars will simply accept a “Single DIN” car stereo, meaning it is going to only accept the standard rectangle-shaped size. Others will accept up to 1 . 5 DIN, two DIN, 2 . 5 NOISE, etc … If your car will simply accept up to 1 . five DIN, you must choose a solitary or 1 . 5 NOISE stereo.
In-Dash Receiver Package:
This is a kit that will allow your own dash to physically save your new Stereo. Many old cars will use a common kit, but any vehicle that has A/C controls constructed into the stereo face, the trim piece that will act as the face, or an opening that is not square or rectangle, will require a kit that is particularly customized for your car. Some caution here, there are many producers of kits out there. You could find kits for the same car which look the same ranging in price from $10-$50.
In many cases, the actual cheaper kits do not suit as securely allowing the actual stereo to move around as you generate or do not allow the stereo system to fit all the way into the splash as it should. In either case, you might be risking damage to the stereo system, dash, or other gear behind the dash. This could cause more expensive compared to Stereo’s original cost within repair bills. I suggest placing your order a kit from a dependable source such as Crutchfield or maybe JC Whitney or finding one up at a community reputable car stereo retail outlet. Most discount merchants you should stay away from. There are conditions but unless you know the variation, it is safer to stay away from these people.
Wiring Harness Adapter:
Generally, in most cars, there is a simple utility with 1-3 plugs how the back of your stereo. This kind of harness contains all of the phone speakers, light dimming, power wire connections, and sometimes other accessory time conseillé you need for your stereo internet connections. The adapter contains a suitable connection for your new stereo audio to plug into this particular harness. If you opt from purchasing this adapter, you will need to cut the connectors from your car’s harness as well as hard wire your stereo system into the wiring. In my opinion, the actual adapter is well worth the cost. It allows you to return the vehicle to the stock radio anytime if you ever wish to. In some cases, this particular adapter will be included in the In-Dash Receiver Kit.
Car Stereo system Installation Tool Kit:
You can purchase these as a kit as well as components separately. The first thing you will require is an interior trim device kit. These kits enable you to remove the interior trim items without breaking them. They are available in either metal or plastic material tools. The metal is much easier to use, but the plastic will never scratch your pieces. The following tool you will need is a device to remove the old Stereo. The majority of cars will require a NOISE tool, check to see what device your car requires before buying. Without a DIN tool, you going to be able to pull your own original head unit away. Next, you will need a basic electric kit. This should include a multimeter, wire strippers and crimpers, splicing connectors, and electric tape. In some cases, you will also require screwdrivers and pliers too. All of these tool kit items will also be used to install audio speakers, amplifiers, or any other extra custom electronic accessories you intend to install in your car so that they are not a 1-time utilization tool.
Parts Bins:
Utilizing a “Parts Bin” is a strongly suggested step. One of the hardest items to keep track of is each distinct fastener, bolt, and fanatic. Keeping them all in a tray is an easy way to be sure you do not lose any. Any time possible I like to take this a single step farther and each lean piece have its own bin featuring its own fasteners. This way you cannot find any questions about what fastener fits what part.
Time:
Be sure you give yourself a few hours to perform your installation. The actual installing time will vary by each car, each individual stereo plus the experience of the installer. If you don’t give yourself enough time to perform the installation, you will find your own rushed to finish. This is where issues happen. You should always allow on your own enough time to “take the idea slow”. In most cases, you will not have to have a few hours to install, but you will need to take the time once completed to find out your new stereo, set up the time, EQ settings, and other possibilities that it has, doing this instantly will help enhance the listening expertise later.
Installation Environment:
This is the preparation step that many neglects. Where are you going to do the installment at? When are you going to the actual installation? What is the temperature? The way is the lighting? These are crucial preparation questions. Most people will not have a cooled/heated garage having tons of lighting to perform all their installation. They will be performing that at home. If you live in a flat, you have an additional concern. Oftentimes apartments have a “No working away at cars” clause in the lease contract agreement.
This means you can actually have to stop after you have begun. Learn from your apartment office before beginning if you can work on the music. What time of day/time of year are you going to the actual installation? If it is in the summer just where it is 100°F you will be scorching and sweaty. After a while, you should be done and begin to dash things. If you do not have access to any climate-controlled garage, look for a shady area using a fan to blow the atmosphere on you, or a portable water heater to heat the area who are around you. Having a small drop mild that you can position in the car together with you helps more than most assume, even if you are out in the vivid sunlight, there are a lot of shaded locations inside the car dash.
Portion 2: Installing your Car Music
The most common customization that many people store their car is a fresh car stereo. Most could have their car stereo skillfully installed spending up to lots more on top of the cost of the particular stereo. For many, though, the additional cost of installation means that they can’t get the stereo that they wish at this time. Installing your own car or truck stereo can save you a lot of money, and make it look just as wonderful as a professional installation. All you require is a couple of tools, a number of parts, and a little time. Ever since you have completed your supplements you are ready to begin the installment.
Disconnect the Battery:
Remove your NEGATIVE battery wire. This step is necessary to ensure that you tend not to cause any damage to your stereo or to the battery power from surges while you are functioning.
Remove the Trim Pieces out of your Cars Dash:
Using your Reduce tools, gently remove just about all required Trim Pieces out of your car’s dash to expose the first car stereo. Your In-Dash receiver kit often times could have instructions on what pieces you should remove. Check these guidelines for any guidance. Ensure you retain all fasteners and reduce pieces organized. Use an elements bin or other committed storage location that is not effortlessly knocked over and not in the way while you’re working. It may seem like an unwanted step for many pieces although I have spent hours looking to buy lost clips or must go to the dealership to purchase a new damaged piece. In either case, this extra minute proved to be consequently valuable.
Remove the Car Music system:
Using your DIN tool (or another specific tool), may help the original car stereo. You can find holes on the sides so that you can insert the tools. When you have them inserted, pull outwards (to the left and also right) on the tool. Carefully, but firmly begin to take the original car stereo out there. When the old stereo starts to slide out, grab the edges of the stereo and keep pulling it all off the exits while supporting it. Don’t simply yank it out. Bring it available slowly until it is completely at no cost. Once you have it completely available, unplug all of the connections and put your old stereo on the side.
Install Your In-Dash Individual Kit:
Read the instructions properly and fully before you begin. This is very critical in retaining a professional look for the installment. Use the trim removal applications to disassemble any additional decreased pieces that are required that haven’t yet been removed. After the directions, install the In-Dash Receiver Kit. Your new portions should align and break in easily. If they will not, take the time to find out why they just don’t and correct the issue. For any set that requires tightening nuts as well as bolts to mount, be sure to do not over torque this kind of as this can cause damage to your personal pieces and cause place issues.
Install Mounting Drivepipe:
The Mounting Sleeve is definitely part of the In-Dash Receiver Set or part of the new Music system. In some cases, you will have one together with the stereo and one with the set. It is always best to compare the two and decide which one will probably fit the stereo essentially the most securely and will fit often the kit most securely. This specific sleeve is generally a steel cage that the new music will actually mount to. Put in the sleeve to the system. Ensure the kit, as well as the sleeve, are secure to one another and to the dash of the car. When either piece is free or not square, adjust each and every until both are correct.
Put in Wiring Harness Adapters:
Given that the Car is prepped for that new stereo, now is the time, to begin with, the Stereo Preparation. Eliminate the Stereo from the packaging and also locate the wire funnel for it. Some stereos could have this permanently attached while others could have it a separate plug. Either way, you need to attach the electrical wires from the Wiring Harness jumeler to the wires from the music system. In most cases, the wires will need a standard color system in order that it may be just as easy to see that matching the colors. Take the time to make sure each wire. This is not one step to shortcut or to make use of the wrong items. Use Twine connectors for each wire. Don’t simply twist together and record. If you do the best you can an answer is less than the optimum audio level of quality, the worst is you can start a stainless steel fire under your rush. Use the proper wire fittings and heat shrink (tubing that shrinks when you heat it) to seal the particular connections.
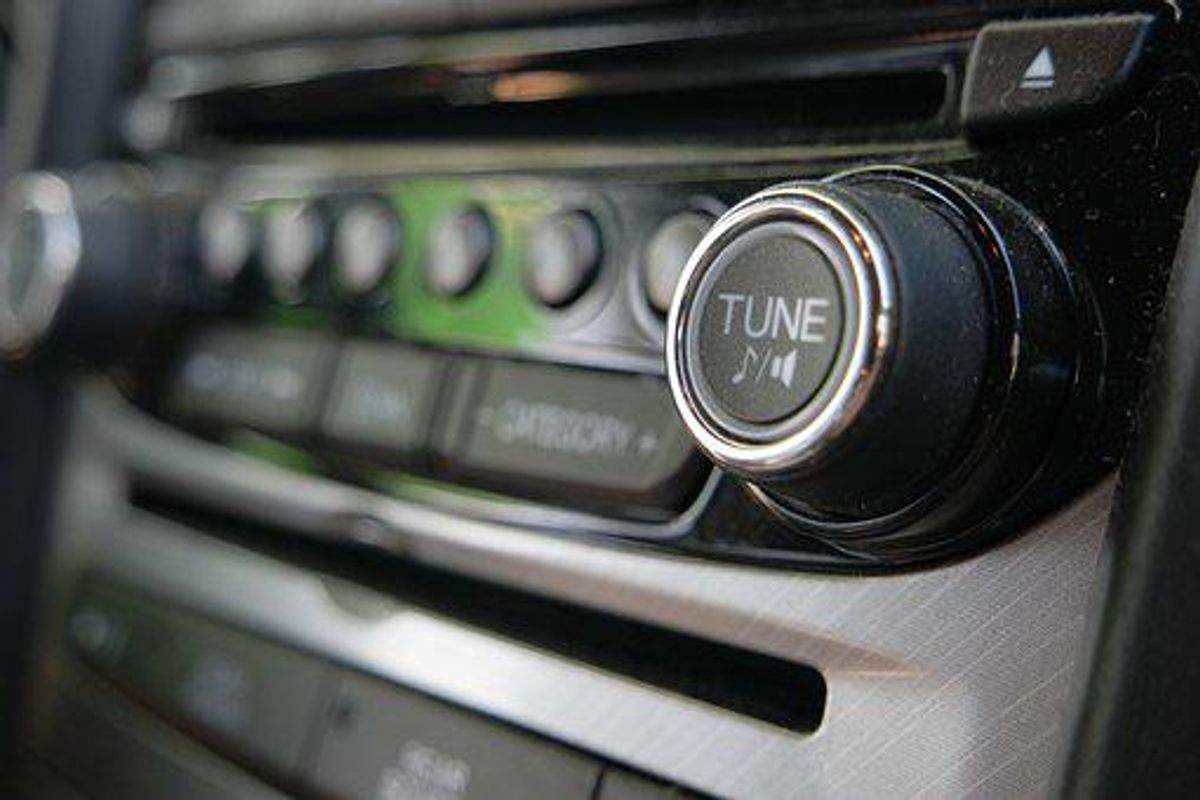
Install Your New Music:
Now you are ready to connect your Stereo to the car’s line harness. Plug the Cabling harness adapter into the funnel you unplugged from the authentic stereo and into the fresh stereo if it is not currently attached. You should have enough cable to set your stereo straight down somewhere nearby. Reconnect your own Battery contact and tighten it down tight. Reducing battery connections is one of the top causes of electrical issues within cars.
Test Your New Stereo system:
At this point, everything should be related back together with the radio related but not in the dash. Start up the radio and make sure all the audio systems work and any other recognized items work, such as dimming the display when the signals are on. Once the testing is usually complete, turn the key off and slide the new stereo audio into the Mounting Sleeve from the dash. Be sure to tuck typically the wires into the dash just as you do this. The stereo needs to slide in easily without binding. If you have any joining, pull it back out along with checking the reason for the joining. When fully seated, typically the stereo will lock on the mounting sleeve and be safeguarded.
Reinstall your Cars go trim pieces:
Reversing typically the order that you removed the actual trim pieces, reinstall all of the pieces of your car’s splash trim. If your In-Dash Recipient Kit came with any cut pieces, substitute the original cut piece with the one through the kit.
Setup:
Take the time to set up the clock, display options, Frequency levels, balance and diminish settings, and connect any Wireless Bluetooth or other accessories as well as options. It is far better to do this now than whenever driving. Take the time to get used to the actual controls, seeing it within the manual seems really easy, however, you have a new stereo within your car that can be thought of while driving, be secure and learn it from home.
Take pleasure in:
Now it is time to enjoy your brand-new car stereo. You have accomplished a lot of work and you should always be proud of your efforts. You have likewise saved hundreds of dollars for the professional installation.
Read also: https://celestelarchitect.com/category/automobile/