

One step-by-step guide lets you know how to install slate flooring on your floors. This is an approach that can be used indoors, mostly in the kitchen.
Step 1: Unpacking, blending, and sorting the standing
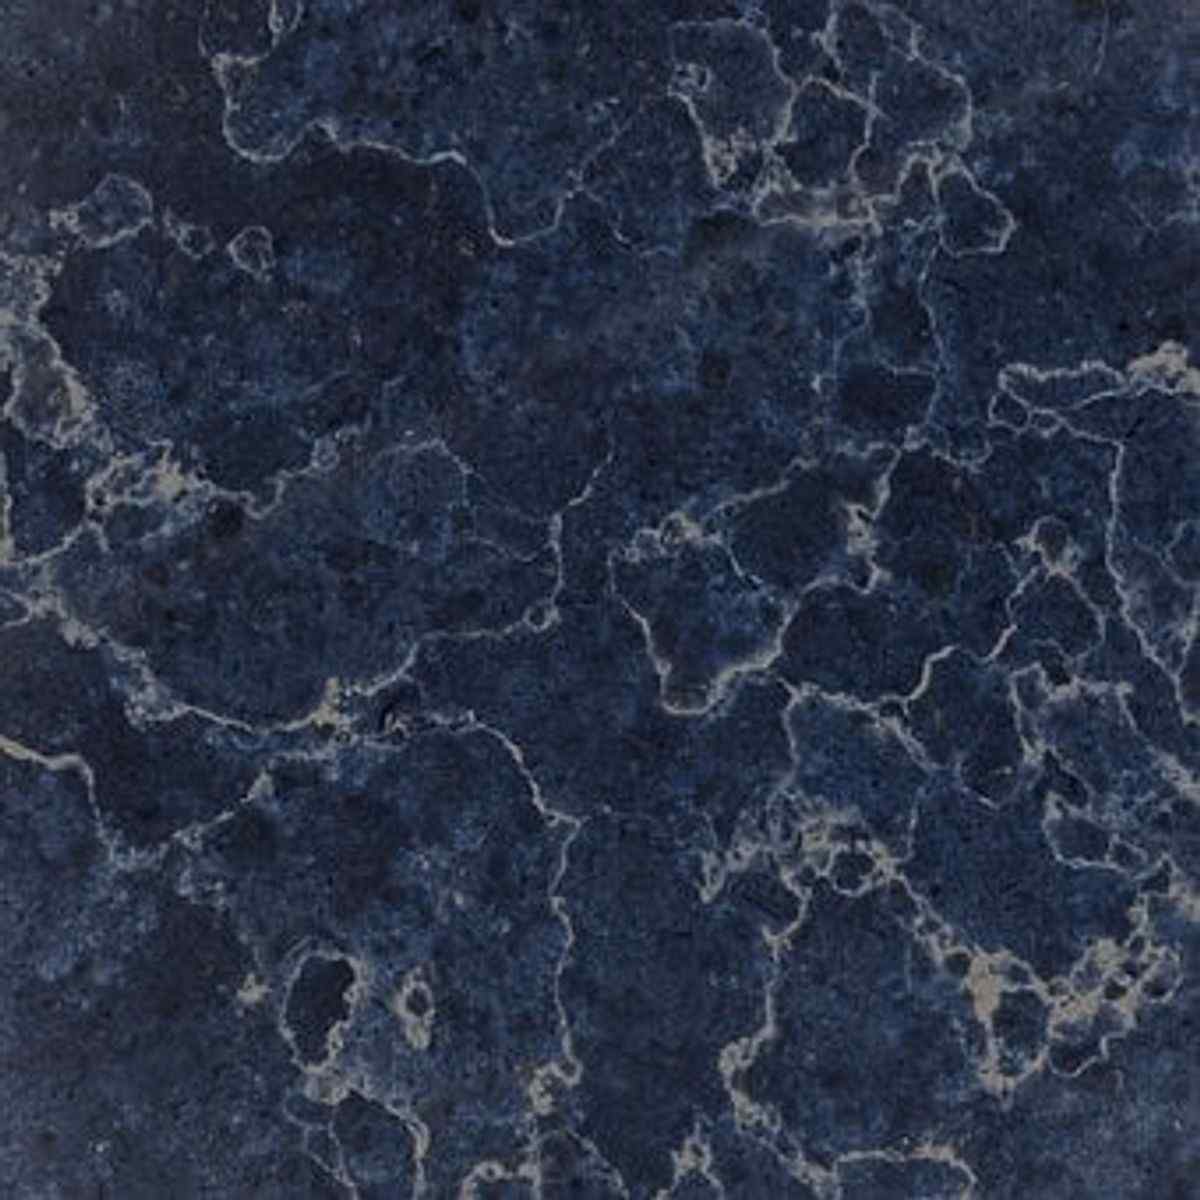
As slate is a normal stone, it’s prone to get cut at different fullness. With some slates ranging from 5mm on one end to pick from to 15mm at the opposite end. This isn’t always the case nevertheless the size/thickness does usually fluctuate between tiles, however, it is just not recommended to lay any 5mm thick slate to pick from next to one of 15mm/20mm because the step created between porcelain tiles can prove to be not only dangerous but in addition very unpleasant to go walking on and even look at. A powerful method of sorting slates is always to arrange them into 3 heaps thick, medium, and also thin. This will help through the installation of the tiles when you won’t have any significant differences in thickness, however, removing all steps between porcelain tiles is not always the case because so many customers are expecting a slight phase here and there (this is usually the required effect when purchasing porcelain tiles such as natural slate).
2: Preparing the surface to be ceramic
Most surfaces need to be closed with a primer; this will increase the adhesion between tiles and also adhesive. As it can be quite difficult to find out which surfaces need securing it’s recommended to seal off any surface that you may end up being unsure about. The proposed primer to use is Larsen’s Acrylic Primer. Larsen’s Silicone resin Primer is ready to work with primer for use on porous and difficult substrates prior to tiling or screeding or to close gypsum plasters or screeds prior to the addition of concrete floor-based adhesives. It can be made use of neat when sealing substrates or diluted with a similar quantity of water for typical priming. This can be applied to a roller and it is colored to be sure of equal application. NOTE instructions before priming/sealing any floor, ensure it is swept clean and connected with any dust, oil, dirt, dirt, etc.
Step: Planning & Setting out
Preparing & setting out for tiling it is best practice to centralize the tiling to the room/area to be tiled. This will limit waste and in many instances look better. To do this, do the adhering to:
Measure one end with the room to the other and symbol the floor halfway (divide the measurement in half).
Repeat this at the opposite stop of the room.
Now be a part of both center marks having a long straight edge to build the center line (In some cases a further few heart marks may be needed just to be able to reach each indicate with the straight edge).
Today lay out a line of porcelain tiles each way from the middle line to establish the best starting-up position. Do this starting with the advantage of a tile to the series, if this leaves very small, challenging, or in-practical cuts everywhere then repeat this process yet start middle of a to pick from to the line rather than the advantage of a tile. In some cases, neither of these ways will be best so you may need to start off-center in order to ensure the best effects all-round.
Step 4: Mixing inspissated and sticking tiles
After the best starting position has been established, you will need to mix upward some tile adhesive, with this we recommend Larsen’s Expert Fast Set PTB. Quick Set PTB is particularly ideal for solid bed fixing between 5 and 20 millimeters and readily copes along with uneven tiles and substrates. Fast Set PTB comes in Grey and White and it is suitable for fixing ceramic, completely vitrified tiles, natural rock, and mosaics to a number of substrates including heated screeds. NOTE – This is a quick setting adhesive so it’s suggested to mix small amounts at a time. Whenever sticking tiles down into the kitchen, hallway, etc. It is strongly recommended to start at the furthest stage from the door and function backward towards the door to ensure you don’t box yourself right into a corner as you will not be in a position to stand on freshly set tiles. Start spreading typically the tile adhesive onto a floor using a solid bed scoop; this can be acquired from almost all builders’ merchants etc. Retain the trowel at a 45? perspective when spreading adhesive. Any time laying the tiles make sure you space them at least 5mm apart from each other this is for grout. It isn’t always 5mm grout lines with all tiles nevertheless this is the recommended size for some floor tiles however provides for small variations in these styles as natural slate basically always cut completely sq.
Step 5: Cutting the mosaic glass
Once you have laid distinct tiles down you will need to trim a tile to fit throughout against the wall/units etc. To accomplish this you will need to measure the area when a tile is to be fitted (Remember to allow for grout spaces involving tiles and against the wall) using a tape measure then transfer this measurement upon a tile using a pencil/marker. In regards to actually cutting typically the tile, some would claim this is best done dry, therefore using an electric cutter without water. NOTE – Not all cutters have the ability to cut dry out so this can’t always be accomplished. If cutting wet (with water) then be sure to let slate dry completely ahead of sealing. When cutting all-natural stone it is recommended to use an overhead cutter such as the RUBI DW range but as all these can be very costly for someone who is simply not doing this as a full-time job, there are actually smaller and cheaper alternate options that can be purchased from almost all builders merchants. NOTE rapid for cutting instructions remember to refer to the operating guide book that comes with the cutter.
Step six: Sealing the tiles
When the adhesive has cured (set hard) it is very important to apply the sealer/protector. For this we suggest Larsen’s Impregnating Sealer, this really is ideal for providing a water-resistant, stain-resistant seal in order to slate and porous ceramic tiles. This is to be applied to utilize a roller and must be used evenly. It’s recommended to use 2 coats before grouting and once after.
Step 7: Grouting
Once the sealer has healed, it’s time to mix in the grout. For this, we suggest Larsen’s Professional Stain Proof Wide Joint Grout. Expert Stain Resistant Wide Combined Grout is a specially developed, flexible, cement-based broad joint grout. This is to become applied using a grouting drift spreading it into the spaces at a 45degree angle NOTICE – try to concentrate on getting grout as close to the sides of the tiles as possible, this is simply not crucial as you have covered the tiles but will allow it to be a lot easier to sponge away after. When grouting, you need to only cover between 1-2 m2 at a time and then cloth or sponge off as if the grout is actually left sitting on ceramic tiles for too long it can be quite challenging to remove! (Between 10-15 minutes is usually ideal). Once all the grout has been applied you may need to clean your tiles with a grouting sponge or cloth again but ensure to work with fresh clean water each 2-3 m2. Once the mosaic glass is clean and the grout has cured (set hard) another coat of sealer is required
Step 8: Regimen maintenance.
Depending on foot site visitors, the floor will need to be re-sealed/cleaned with a professional tile better every 6-12 months, just for this we recommend Larsen’s Targeted Tile Clean. Concentrated Porcelain tile Clean is part of the Specialized Tile Maintenance Range. It is just a concentrated hard surface better specifically designed for use in the regimen cleaning and maintenance of porcelain tile and other hard floors. Read also: https://celestelarchitect.com/category/home-improvement/