

When it comes time to paint the boat after the horrendous amount of sanding, fairing, and hard work is (mostly) over, the fruits of your labor now require a shiny, deep luster that the painting now promises to bring; the average home boat builder is expected to wade through an increasing amount of hi-tech gobbledygook. In my opinion, applying the final coat is one of the most satisfying aspects of boat construction. (It’s the beginning of the end, at least!)
Boat painting used to be a straightforward process. A nice, dry day, a paintbrush from Dad, some turpentine, some masking tape, some leftover pink primer from holiday decoration, and a half gallon of dazzling blue enamel paint from the hardware store — those were the days!
My dear buddies, not today! The inexperienced boat builder who wanders into a chandlery or big-box store should brace themselves for the worst: a massive financial assault, as well as a mind-boggling array of hi-tech whiz wow balderdash thrown in their general direction by the (usually) uninformed shop assistant in the faint hope that you will give in under stress and buy several liters of the latest polurethanicalslitheryaminomolecules Trade names such as “Interlux Interthane coating” are only one example of what you might expect to see. It sounds like the next space invaders game, for crying out loud! Bloody paint, I tell you! There are plenty more, but I think you get the point.
Another issue under my skin is that if you buy a few gallons of iso-cyanate two-pack marine polyurethane paint, you’ll be pleasantly assured that you can’t spray it anywhere outside an appropriately licensed facility. I guess they need to come up with new names for these paints since some newer ones can cost as much as $150 a liter to produce. Why the hell is it so pricy to include whatever it is that they’ve found? I thought paint required linseed oil, turpentine, a drying agent, and a little color pigment, but apparently, I’m way off base.
GETTING BACK TO THE FUNDAMENTALS
Then why do we go through the trouble of painting our wooden boats? Or, for that matter, any other vessel? The first portion of your query can be answered quickly. A little touch of sheen and sparkle makes boats look much better and more put together… After all, everyone does it. We also want to ensure its safety, so we’re asking. Well, from what? Not painting wood will cause it to deteriorate. – incorrect! When left alone, wood does not decay. Wood decays only because of its surrounding conditions. Numerous examples exist of how, in the right conditions, untreated wood can persist for centuries. There are only a handful of things that can cause wood to decay. Spores, fungi, heat, and moisture can all cause biological damage, and marine borers and crustaceans can cause physical harm by breaking the surface and letting all the other factors in.
We can now add chemical warfare to the number of ways in which lumber can be ruined by pollution. Given these numerous threats, we have decided to paint our boat to safeguard it from any potential damage.
PREPARE OF WOOD
The needs for actual timber preparation can vary widely. If your boat is brand new, you won’t have to do as much maintenance as you would on an older vessel. Because the timber is either covered in layers of fiberglass or coated with an epoxy that prevents conventional paints from adhering to it properly, we paint boats constructed using methods other than strip planking or cold molding the same way we would a fiberglass boat. However, we take a different approach if we want to safeguard unfinished wood. In its natural state, Timber has millions of tiny hollow tubes (cellulose) flowing through it. These tubes must be hermetically sealed to prevent water from entering. Therefore, the first thing we do is fill and coat the wood.
First, the hull is thoroughly cleaned, including removing any remaining debris and loose, peeling, or otherwise damaged paint. After thoroughly vacuuming the hull to remove dust, a specialized paint degreaser should be used if necessary. Remember that you won’t have to sand the whole hull down to bare wood; just making sure it’s dry, clean, grease-free, and dust-free will suffice.
COMPLETION AND DEFECTS
Outwardly, not all wooden boats are created equal. Before priming the ship, several flaws of varying sizes exist to address, such as cracks, irregularities, and splits. Spending some effort here will result in a yacht that looks better and lasts for many more years. Epoxy fillers sometimes conceal these flaws in wood, but they should not. If the boat needs maintenance or repairs in the future, removing epoxy from a fastening hole will be a nightmare. Use a proper wood filler that sets quickly and firmly but never so much that it can’t be removed later. For instance, the glazing compound used by painters is a reasonably firm molding soft paste that may be sanded and painted after a brief application. Special seam compound is typically used to fill up the seams in a Carvel boat AFTER the boat has been primed. After the ship has been filled, faired, and all dust removed, we may apply the actual paint coat. Remember that the difference between a professional and amateur paint job is in the PREP!
PRESERVATIVE FOR WOOD
There are two schools of thought when it comes to using wood preservatives on bare wood. Primers and paints allegedly don’t stick to several of them. I’ve never had an incident like that occur while using them. Thus, I have no qualms about advocating for their use. In many instances, I believe that the wood has not sufficiently dried out after the application of paint, and this prevents the paint from adhering to the wood. Paint won’t adhere past a specific humidity level, and that percentage is different for different types of wood. Some types of wood might have a moisture content of 15% or higher. Before applying any filler or paint, be sure the wood is completely dry. Also, remember that salt deposits on timber rapidly absorb and hold water, preventing it from evaporating. If you intend to paint your boat after it has been in salt water, you should wash it in fresh water first. Your next step, and only your next step, should be:
PRIMER
Apply a coat of metallic grey primer as the initial coat on your hull. In comparison to other primers, such as pink primer, which has circular molecules of substances and thus allows water to ingress much quicker, this one is excellent because it is composed of millions of microscopic flat metal (aluminum) plates that lie on top of each other and make it very difficult for water to pass through it. Two coats of grey primer were applied above the waterline, and three were used below it. Grey primers contain certain oils, and most also contain anti-mold compounds within (biocides).
ADDITIONAL NOTES ON PRIMERS
It’s not uncommon for people to be confused about the differences between the many paint primers available. As previously mentioned, grey metallic primers are practical for basic, dry timbers. Many well-known brand-name oil-based primers are also excellent and will perform the job admirably. However, hi-build primers require special care, and I can’t say I’ve ever had good luck with them. Most of the Titanium Dioxide (talc) can absorb a lot of moisture even after curing, which might hinder paint from sticking well. High-build primers should only be painted on dry, sunny days, and high humidity levels should be avoided. Then, as soon as you can, seal them with topcoats. It’s important to remember that hi-build primers, being a softer paint, are easily scratched while traveling through stony or shingly beaches or even when launching from boat trailers. Remember that massive clouds of white dust are created when sanding these primers, so be mindful of your surroundings and use the proper protective equipment.
TOPCOATS
Again, your options are extensive. First, let’s take care of the two-packs. A two-pack epoxy undercoat is required before applying a two-pack polyurethane topcoat. They look great when finished, but the paint cures so hard that it cracks if the underlying wood shifts (strip planners and cold-molded boats are your best chance here…aside from glass boats, of course). The most important one is that vessels made of wood can move or “work.” If your wooden boat was initially constructed with a glassed deck rather than having its current deck glassed over to prevent leaks, you might get away with it. Boats treated this way seldom dry out completely and are still vulnerable to movement due to the lumber behind the glass rotting from wetness or shrinking from overdrying. Chined boats, which have strips of wood glued in between the planks rather than caulked, also have a good chance of staying put.
Okay, so what else? Single-pack or one-pack polyurethane paints are nearly as glossy and durable as two-packs, making them a viable option for use as a topcoat. They’re a better value and easier to use than the two-packs. Many of them are available, so you’ll need to do some digging and make your own decision there. I won’t get into a debate about which ones are superior, though. However, remember that the products of most significant, reputable paint manufacturers are typically fine. You decide!
So, marine enamels are up next on my to-do list. Again, remember that anything prefixed with “MARINE” will likely be on the pricey side; huge hardware chains often stock only one or two colors in this category, leading even me to fall for them on occasion. We’ve finally found the Name!
Some whites might become yellow with age even when using high-quality marine enamels; choose an off-white color like cream or buff to avoid this. My final pick for marine enamel is a newcomer to the market: a water-based enamel. Though I’ve never tried them, I’ve heard they’re practical and have benefits, such as easy cleanup and the fact that the thinners can be consumed.
RANGE OF OPTIONS
There are a few different paint systems out there than those above, and they will undoubtedly receive the average amount of criticism from letter-writers. Mostly, I think, since it’s not what you’d call “normal.” The following assortment of paints is as varied as it is functional.
ENAMEL PAINT FOR HOMES
The quality of enamel paints for homes has improved so much over the years that many boat owners I know use it to repaint their vessels. It’s softer (and cheaper) than most single-pack polyurethanes but loses its color quickly, especially the darker shades. However, if you own a small boat and don’t mind painting it every couple of years, they can be a great option because they are inexpensive and straightforward to apply.
ACRYLICS MADE FROM WATER
Until recently, acrylic boat paint was not recommended due to the ease with which it peels off. However, that’s not relevant now. Wattyl’s Acrylic semi-gloss “CANE” was used to paint my boat, the NICKY J, and the results are stunning. The white epoxy primer single pack worked great, and I finished the hull and decks in gloss and semi-gloss, respectively. It has never even hinted about delaminating. Once a year I use a roller once a year to paint the boat, and it takes me less than a day, even though she’s 42 feet long. This is an additional option!
Now that you have the primary colors to work with, I must remind you that preparation is the key to success. In the end, you’ll end up saving a ton of cash by doing this.
A GUIDE TO PAINT APPLICATION
Spraying, brushing, and rolling are the three most common ways to use paint. Another standard method combines the previous two—rolling and tipping—, but we’ll get to that later.
Let’s check out the process of spraying. Several things must be in place before you can do a good spray job. These are often well-equipped workshops with suction fans and good ventilation, where competent spray equipment (not the cheap, underpowered) is used, and proper safety precautions are taken. Although the general rule holds, one man works outside at Edge’s boatyard and does an outstanding job despite the inclement weather. Overspray often lands on other vehicles, so keeping an eye on the weather and directing it away from them is essential. A considerable amount of paint is spilled and wasted as a result. Spraypaint is for you if you have to have your boat appear like your car. And it’s swift, too.
If you take your time and know what you’re doing, brushing by hand may do wonders for your hair. Dust-free environments and nice brushes (costly) are an absolute must in this field. I’ve seen boats that, at first glance, appear like they’ve been sprayed, to find out that they were hand painted by brush.
Finally, the ‘roll and tip’ technique of rolling. Two people working together are needed for this. Amazingly professional results can be achieved by having two people work together to apply paint: one to move on the color thinly, and the other to follow closely after with a good brush and ‘tips’ out the bubbles left behind by the roller.
Caution should be exercised regardless of the approach taken. Wait until the paint is completely dry before fixing any sags or runs; otherwise, you risk ruining the finish. It’s hard to resist, yet paint always dries faster than you expect.
In Brief
Painting a yacht well involves many different skills and techniques. There are many different approaches, and each person needs to pick the one that works best with their unique set of skills. What resources you have at your disposal are crucial. One person may have a backyard garden, while another may have access to a vast shed or warehouse. I will state that a few universal guidelines may apply to painting any size yacht. Too much of a good thing is rarely good, and being overly brilliant or sophisticated might hurt your efforts.
Some boats costing over $20,000 to paint looked unremarkable to me. The wrong painter was chosen. It’s acceptable to ask for examples of a painter’s work before hiring him. There are always swindlers and cowboys around, so if he’s any good, he’ll have no trouble finding a job. Every boat, without exception, will require some touch-up or complete repainting within a few years. The catch is figuring out how much time you get for your cash. It’s inevitable that your freshly painted boat will get nicks, dings, scrapes, and scars the moment you let it out into the world unless you keep it locked up in a museum or garage. If a painter quotes a price of $10,000 and says, “Yes, it will cost ten grand, but it will outlast you and me,” look elsewhere. The frequency you’ll need to re-paint your boat is proportionate to how roughly you’ve treated it throughout the years. The only way to keep your boat looking brand new once you’re done is to keep it out of the water forever. Reason for your skills and potential. Sometimes, the simplest solution is the best.
How Much Paint Do I Need? (For One Coat): A Simple Formula
I find this to be fascinating, if not entirely accurate. However, it comes pretty near. Brushing, rolling, and NOT spraying are included in this. I haven’t figured out the correct formula yet.
THE METHOD
OVERALL LENGTH x BEAM x 0.85 = ONE COAT
Calculated using the paint can’s recommended application rate (in square feet per liter).
Calling the paint manufacturer’s customer service number will provide you with the answer if you can’t figure it out alone.
Wooden boats have weathered the elements for centuries despite being painted using increasingly rudimentary methods. Pitch, bitumen, turps, and beeswax were often daubed onto the hulls of early watercraft. After serving as a bitumen tanker for almost a century, a primitive Thames barge was in pristine shape. I have never seen better examples of conserved wood than the dark brown lustrous polish. The owner of one of the most intriguing boats I’ve ever seen told me he’d only painted it once in thirty years and used fence paint. According to another grizzled boat builder I knew, the key to successfully painting a wooden boat was to apply as many coats as your budget would allow.
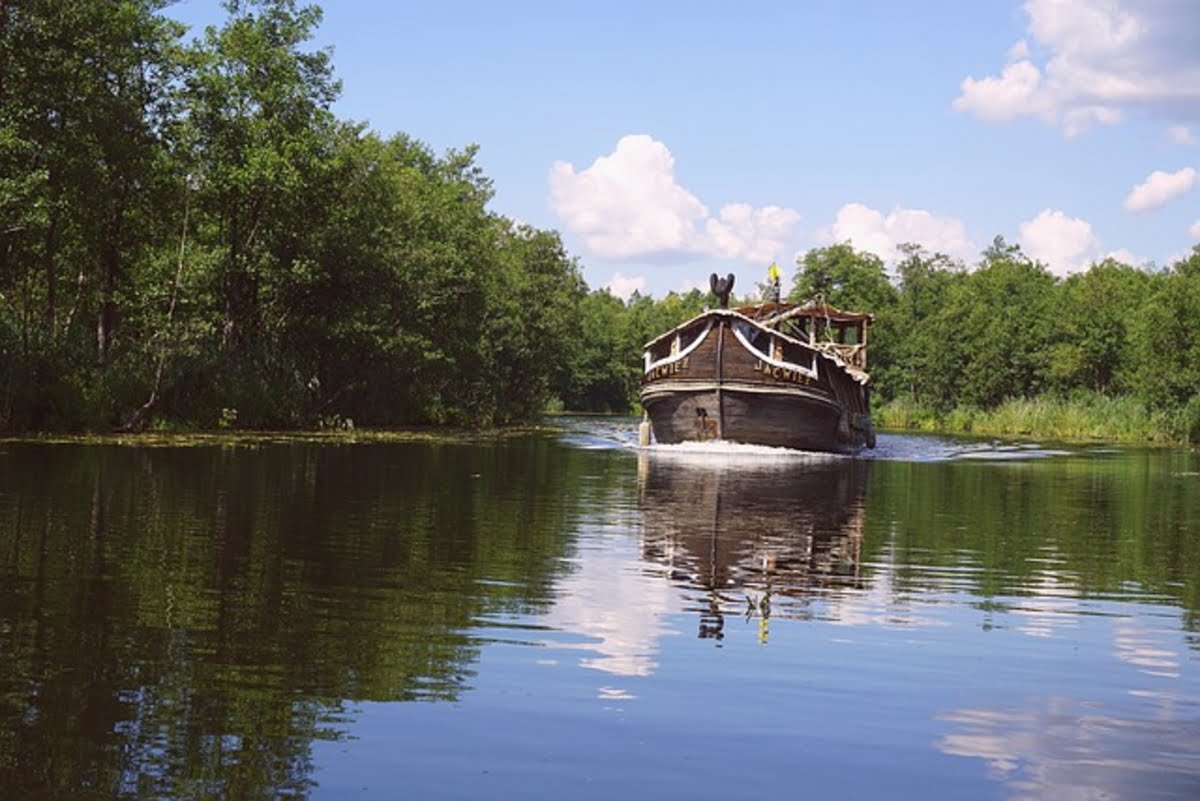
Terry Buddell is a professional writer, boat builder, and marine surveyor who lives in Gladstone, Queensland, Australia, with his partner Nicky on their yacht, the “Nicky J Miller.” Terry has designed a series of boats that he sells from his website on the internet, and he has also built his 42-foot yacht, which he affectionately calls “his filthy old lugger.” Terry has written for several boating magazines, specializing in the ” How to do it “article using practical ideas and basic common sense.
Read also: The best way to Protect Your Business From Cyberspace Crime