

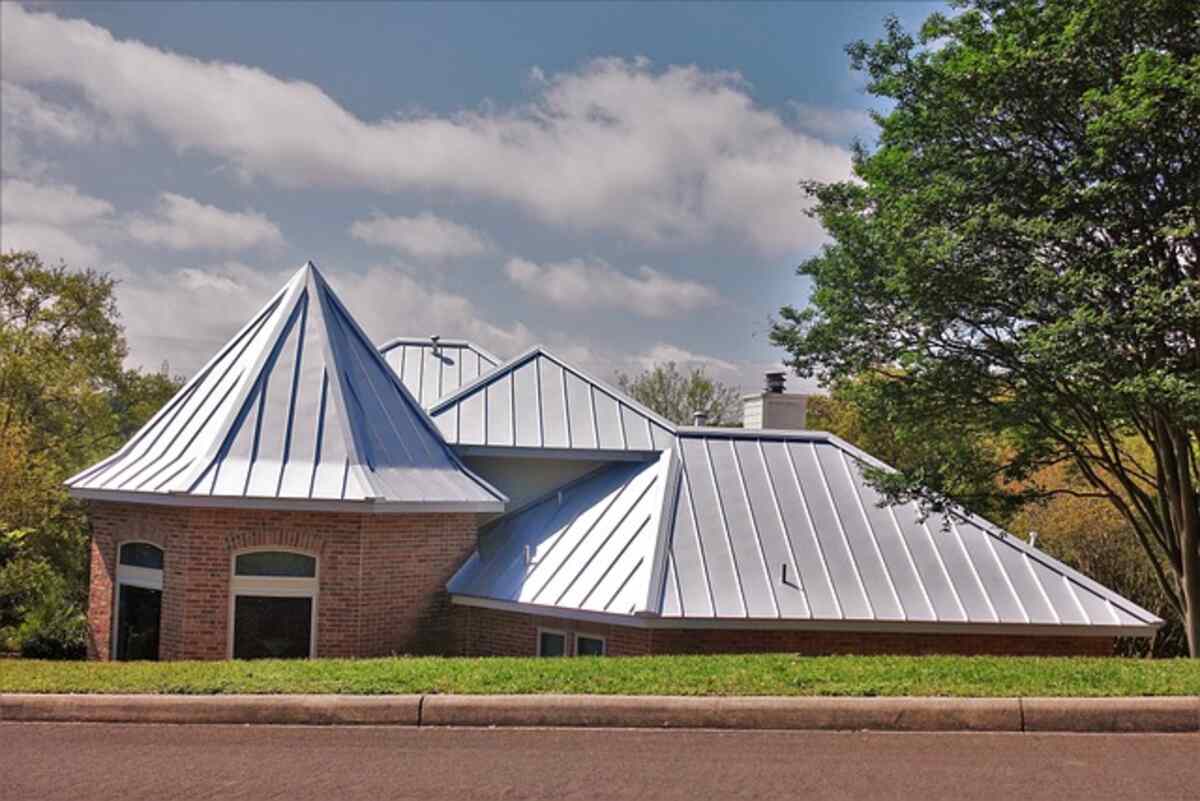
Metal roof tiles are an aesthetically pleasing option for today’s roofs. Pressed metal tiles can be purchased in various designs imitations of more common roofing materials like clay and slate. Select the best Standing Seam Metal Roofing.
Metal roofing tile has gone a long way since its introduction in the past 50 years. The original tiles were covered with bitumen that quickly melted in the sun. Most high-end contemporary finishes are made of acrylic and are guaranteed to last for more than 50 years.
Metal roofs are a more practical replacement for traditional materials like concrete and clay tile. They weigh about a third less than a concrete roof. Therefore a lighter framework can support the roof. As a result, construction costs go down, and new options for building types become available. In addition, metal roofing can be installed faster than traditional materials like clay and concrete. This expedites the start of the second fix trades and minimizes the cost of labor. Roofing products will come with instructions from the respective manufacturers. Some advanced methods of setup are described here.
Gettin’ It On
The first step in constructing a new roof is to lay out the roofing materials. Roofing tiles made of metal require a precise gauge to prevent leaks. In contrast to concrete tiles, metal tiles need precise gauge measurements to ensure a proper fit. This is why using set-out pins when installing batons is standard practice. Before driving in the set-out nails, the gauge is marked up by the rafter with a measuring stick. The wands are then cut to size and pulled out of the way to install the drywall. Creating a separate, smaller measuring rod can decrease setting out time in half. In addition, the smaller rod replaces the need for fiddling with tape when securing batons around hips and valleys.
Distorting and slicing
Tiles are trimmed to fit at roof ends and corners, with a bend allowance of 50 millimeters per tile. This up/down slope is what makes the roof watertight. Water can be blown under the ridge or hip if the bend isn’t steep enough.
Putting many layers of duct tape on the bender’s jaws makes it possible to get a better grip on the tiles without scratching the paint. Aim to utilize up half the tile in each slice. You’ll have enough leftover metal to make a second cut on the opposite side.
Creating a valley
It looks considerably better if the valley is marked and cut at ground level. Rather than measured individually, the tiles are put out in a row as if on a roof. The tiles have to fit tightly and be appropriately oriented. Then, a bevel is used to mark the base and cap courses. It’s safe for two persons to draw a line down the valley floor presently. A straighter line results from this method than from taking separate measurements.
Putting down tile
In contrast to more conventional roofing materials, Pressed steel tiles should be installed in this order: ridge down. Position the underlap such that it faces the breeze. Maximum resistance to wind and prevention of the roof from lifting will result from this.
After the first complete upper course has been set and fastened at the tile’s apex, the next row can be slid beneath the lower class using the space created. An even surface must be completed to make the most of the tile scraps. Two cuts can be made from a single tile if it is finished 450 mm from both ends of the verges. It’s best to lay four rows at a time when the wind blows before taking the top three courses. When working on a roof, limiting the number of people walking on it is best. Denting the surface can be avoided by walking straight above the stationary baton.
Take special care while “cutting in” at intersections when installing ridge and hip tiles for the last time. The goal is to create a watertight seal by correctly folding the cuts without adding silicone. If you take your time cutting and bending, the roof will look great and last many years without needing repairs.
Read Also: Residence Inspection How To Training An Inspector